Published
•7 min read
How to make your own playing cards + Agile Poker template

Creating your own Agile Poker Cards can be a rewarding and hands-on project that enhances your Agile planning sessions. It is not just about the final product—it’s about the joy of working with your hands and taking a break from the digital world.
In this step-by-step tutorial, I’ll guide you through making your own cards, whether you’re using my Agile Poker Cards PDF or another design that suits your needs. These steps can also be applied to any card-based project, like designing your own board game!
In each section I give info what are the exact tools that I’ve used. Some of the tools I recommend below include affiliate links, which help support this blog at no extra cost to you.
Download the Agile Poker PDF
First of all, you will need a cards project. Either you can use your own or get the free one prepared by me.
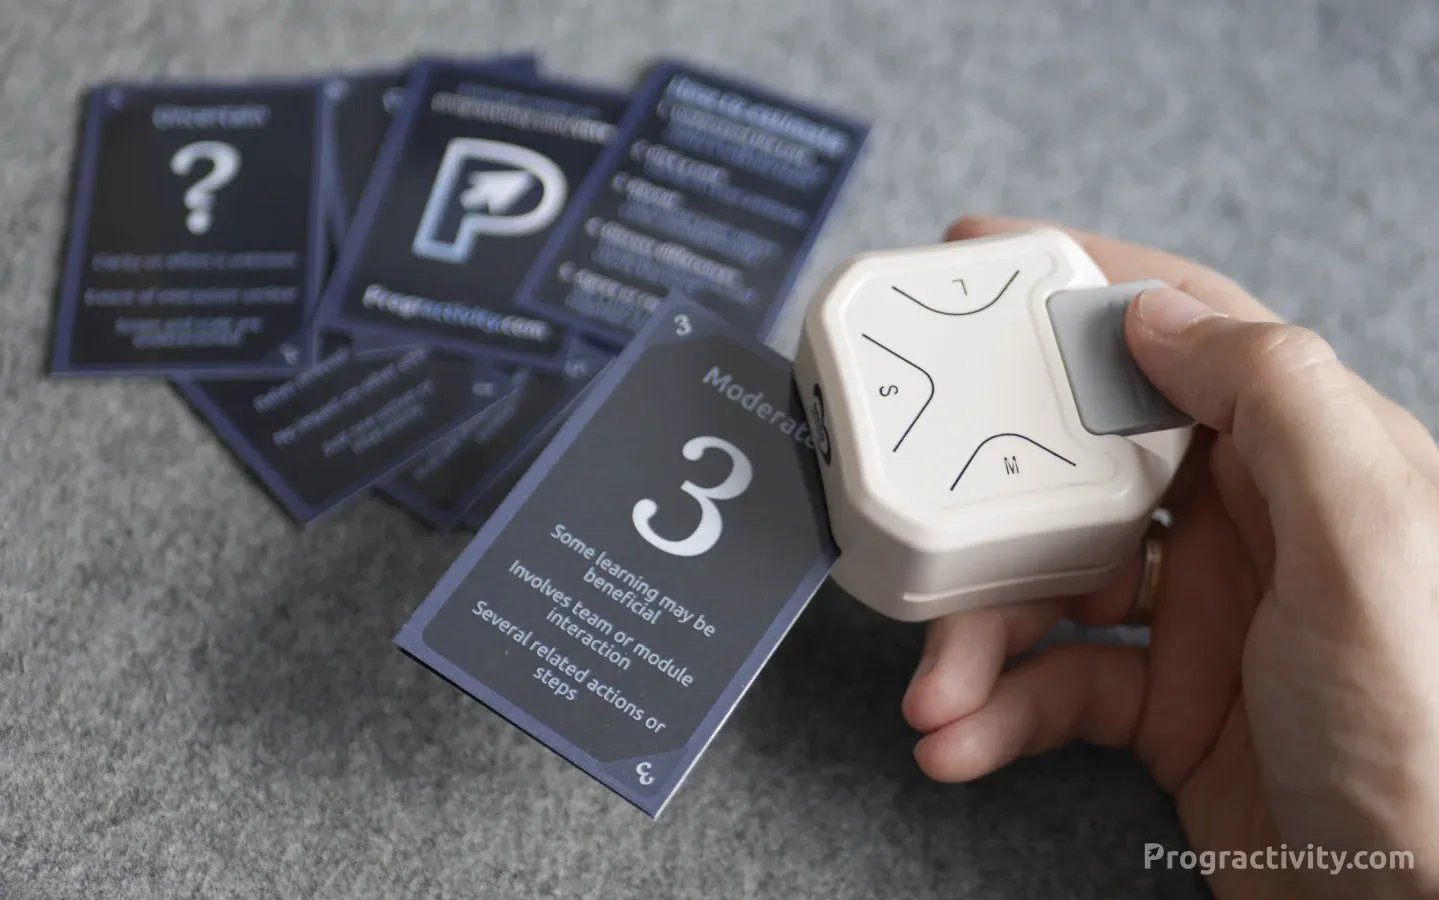
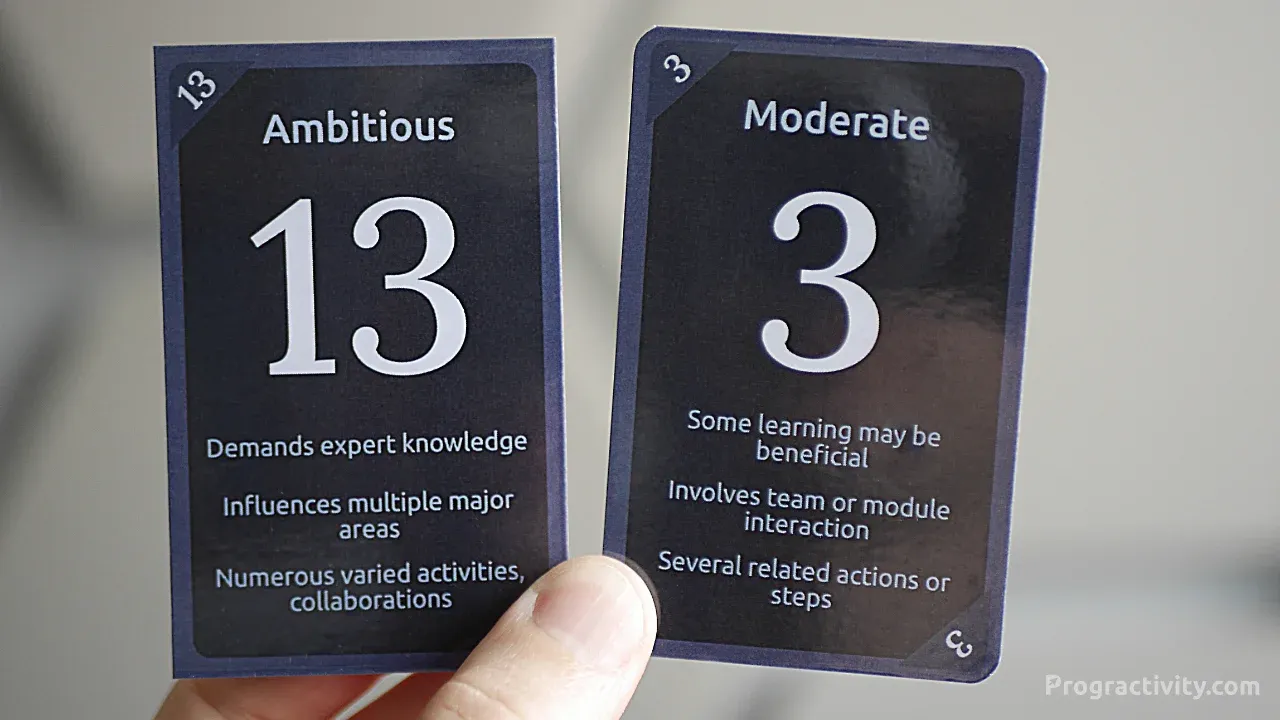
I’ve designed the Agile Poker Cards PDF to fit 10 cards on a single A4 sheet. Each card includes three helpful hints to aid in accurate story point estimation.
Before you download my PDF, you can try out my approach to estimation cards using the Agile Poker online tool available right here on the website.
If you’re in North America, you will need to purchase A4 paper instead of the standard US Letter size. The A4 size allows for 10 poker-sized cards per sheet, which isn’t possible with Letter paper. But don’t worry, printers are international and can handle A4 paper without any issues.
👉 Get the Progractivity’s Agile Poker Cards PDF for free.
Proper Printer Settings and Paper
For best results, it’s ideal to use a printer with duplex (double-sided) printing capability. I printed my cards at a copy shop using a large laser printer, but I was researching for a home solution. From what I’ve found the “Canon PIXMA” series comes highly recommended. One option is the Canon PIXMA G3270.
Printer Settings for Cards Printing
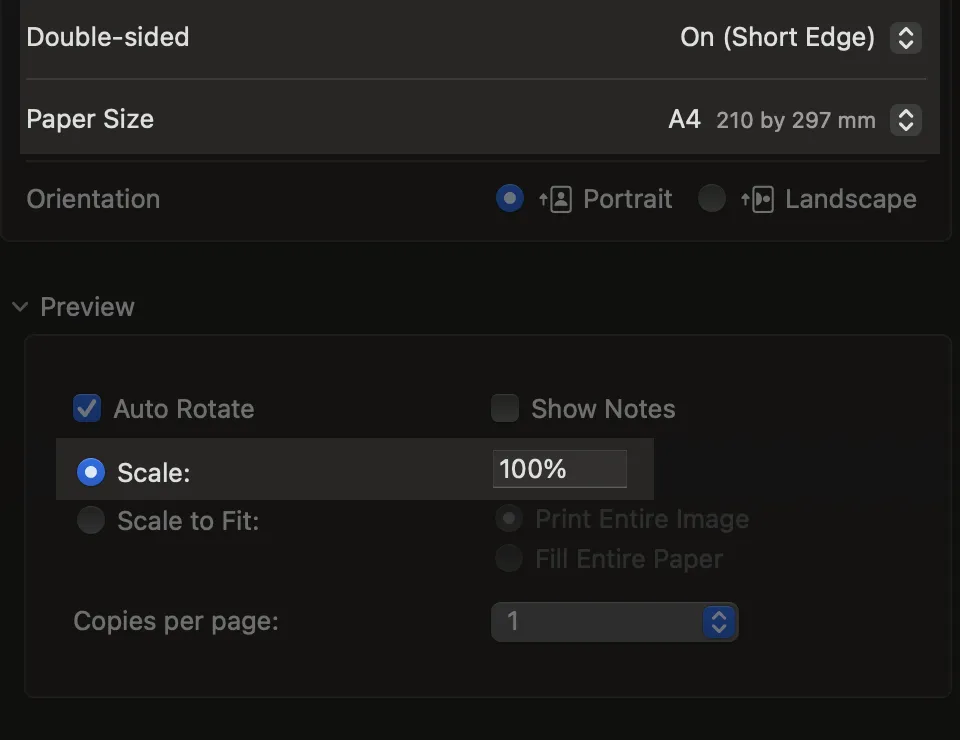
Key printer settings to consider:
- Double-Sided: On (Short Edge)
- I found that without the (Short Edge) setting, one side of the printout was upside-down. Depending on your printer, you might need to adjust this setting differently to get the best result.
- Paper Size: A4
- If you’re using my Agile Poker cards design, keep in mind that you should print it on A4 size.
- Scale: 100%
- Printers tend to scale the printed design to their own settings. They add some margins and this might cause shift of the cutting guides.
- Printer scaling will also shrink cards, and they’ll no longer be poker sized. Smaller cards are less comfy to use.
- To ensure your cards are true to poker size and properly aligned, double-check that the scale is set to 100%.
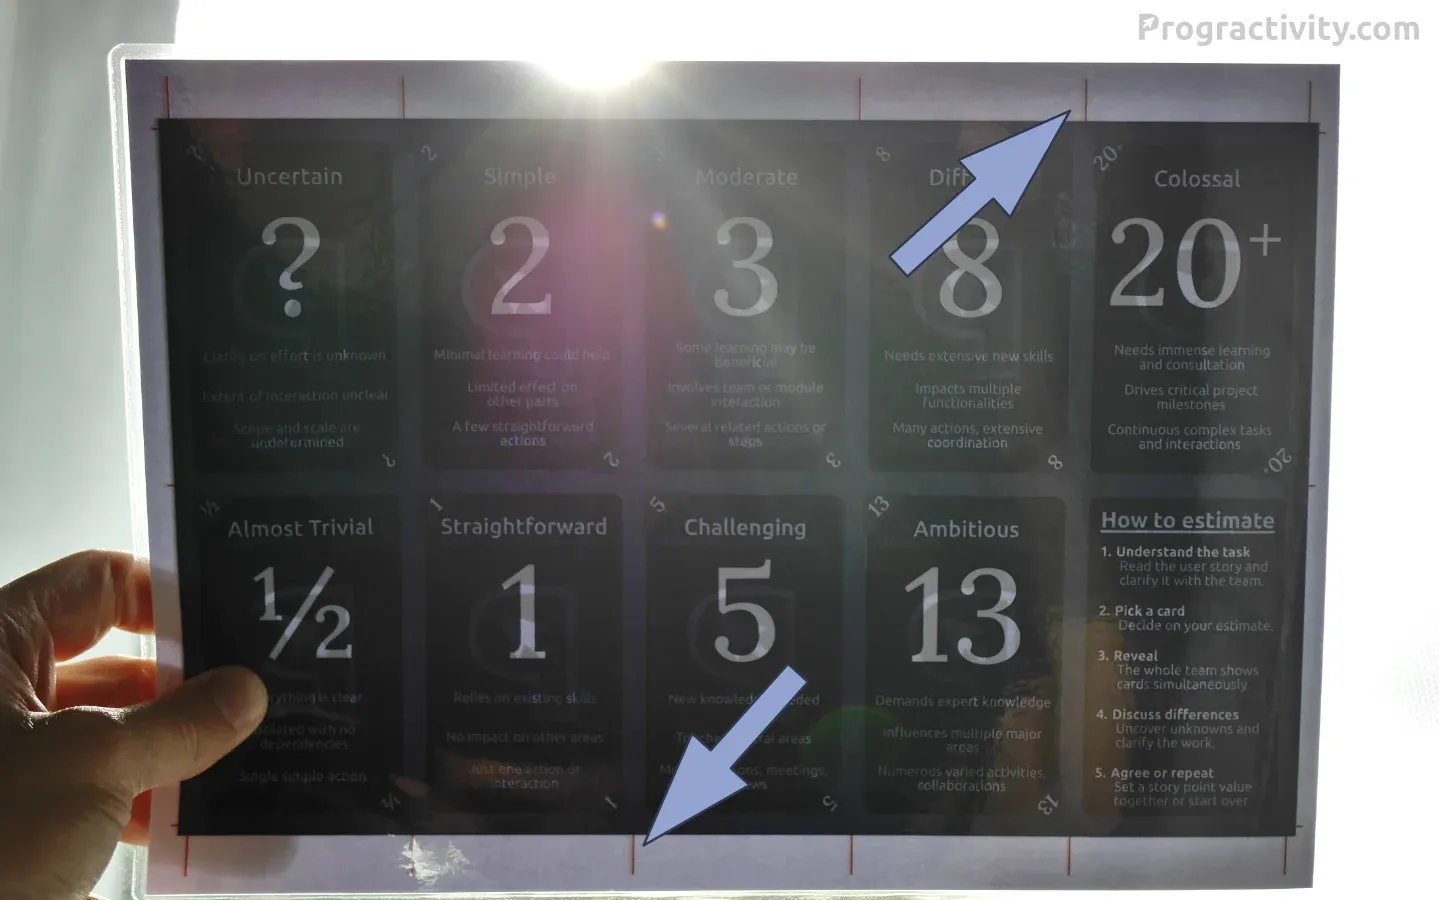
Start by printing a single sheet and checking if the cutting lines on both sides align perfectly. You can hold the sheet up to a window with daylight shining through to ensure there’s no misalignment. If everything lines up, your printer is good to go.
Best Paper for Printing Playing Cards
For this project, I tested multiple papers and ended using 250g/m² paper, which strikes a good balance between thickness and flexibility. Without lamination, the 250g paper isn’t very stiff, but once you laminate it, the cards become much sturdier and more durable. I use Mondi Color Copy A4 250g/m2 paper.
If you decide not to laminate your cards, consider using a thicker paper. Make sure your printer can handle a thicker paper before proceeding! Home printers often have limits on max paper thickness around 250g/m².
If you prefer to use thinner paper, that’s also an option. However, in that case, I suggest using a thicker laminate to achieve a similar level of stiffness and quality. The key is to find a combination that works well with your printer and provides the right feel for your cards.
Laminate Your Cards
Laminating your cards adds an extra layer of durability, making them last longer through many Agile Poker sessions. I use gloss, 80-micron/3 mil laminating pouches from Fellowes, which give the cards a nice, smooth finish that feels great in hand. The glossy laminate also makes the colors pop, giving your cards a professional look and feel.
I laminate the whole sheet at once before cutting. This way the process gets much easier.
When laminating, be sure to feed the pouches into the laminator straight and avoid any wrinkles. If you don’t have a laminator at home, you can get one pretty cheap. I use a basic model: Fellowes Ion and it works great.
How to Cut Out Cards
Once your cards are laminated, it’s time to cut them out. Precision is key here, so take your time to ensure each cut is perfectly straight, giving your cards a crisp and professional look.
How to Cut Paper Straight?
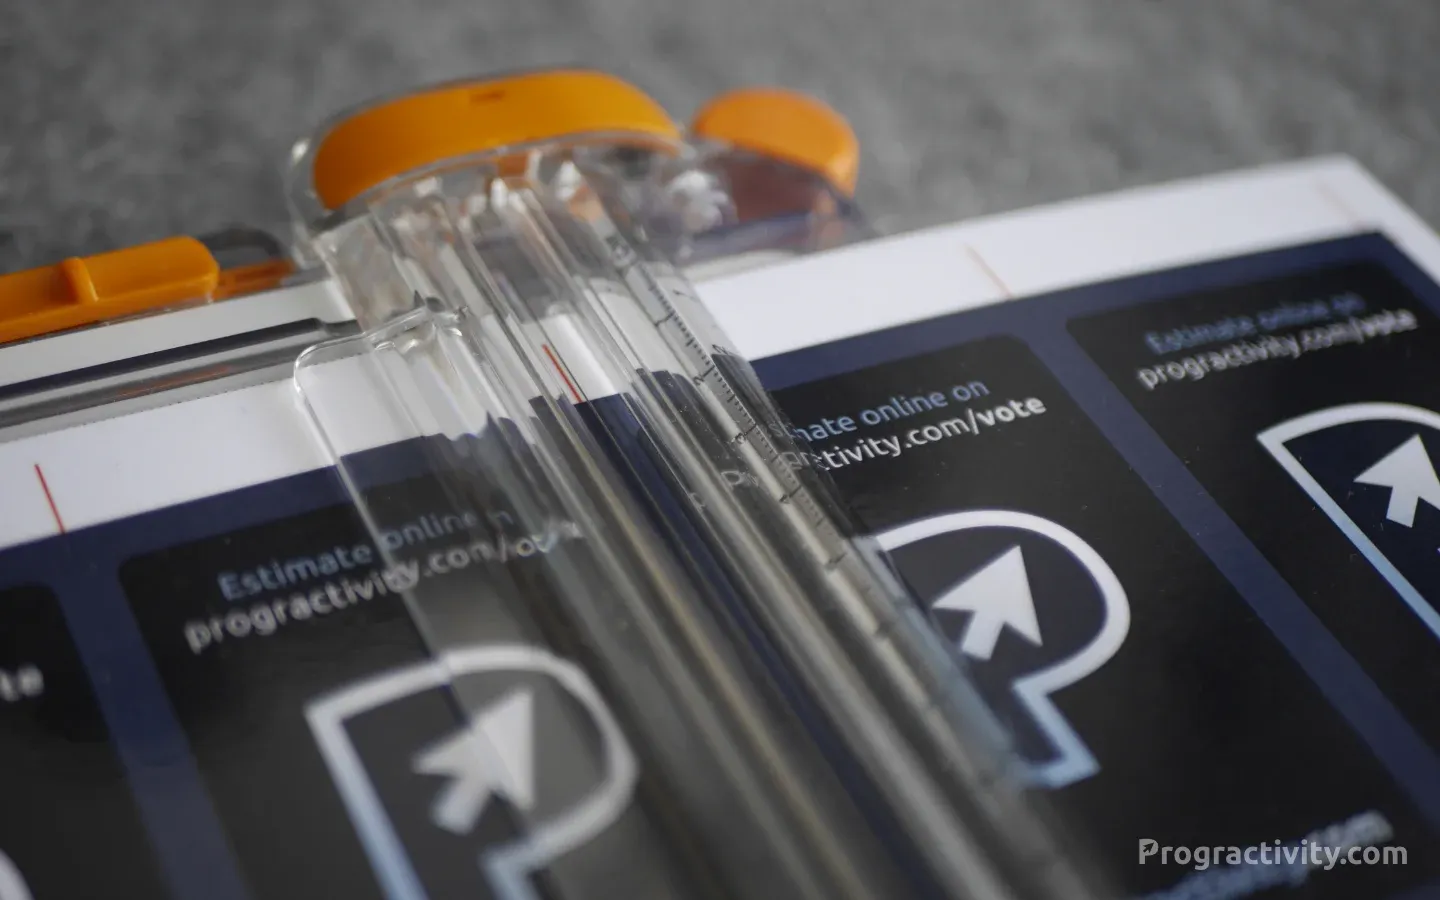
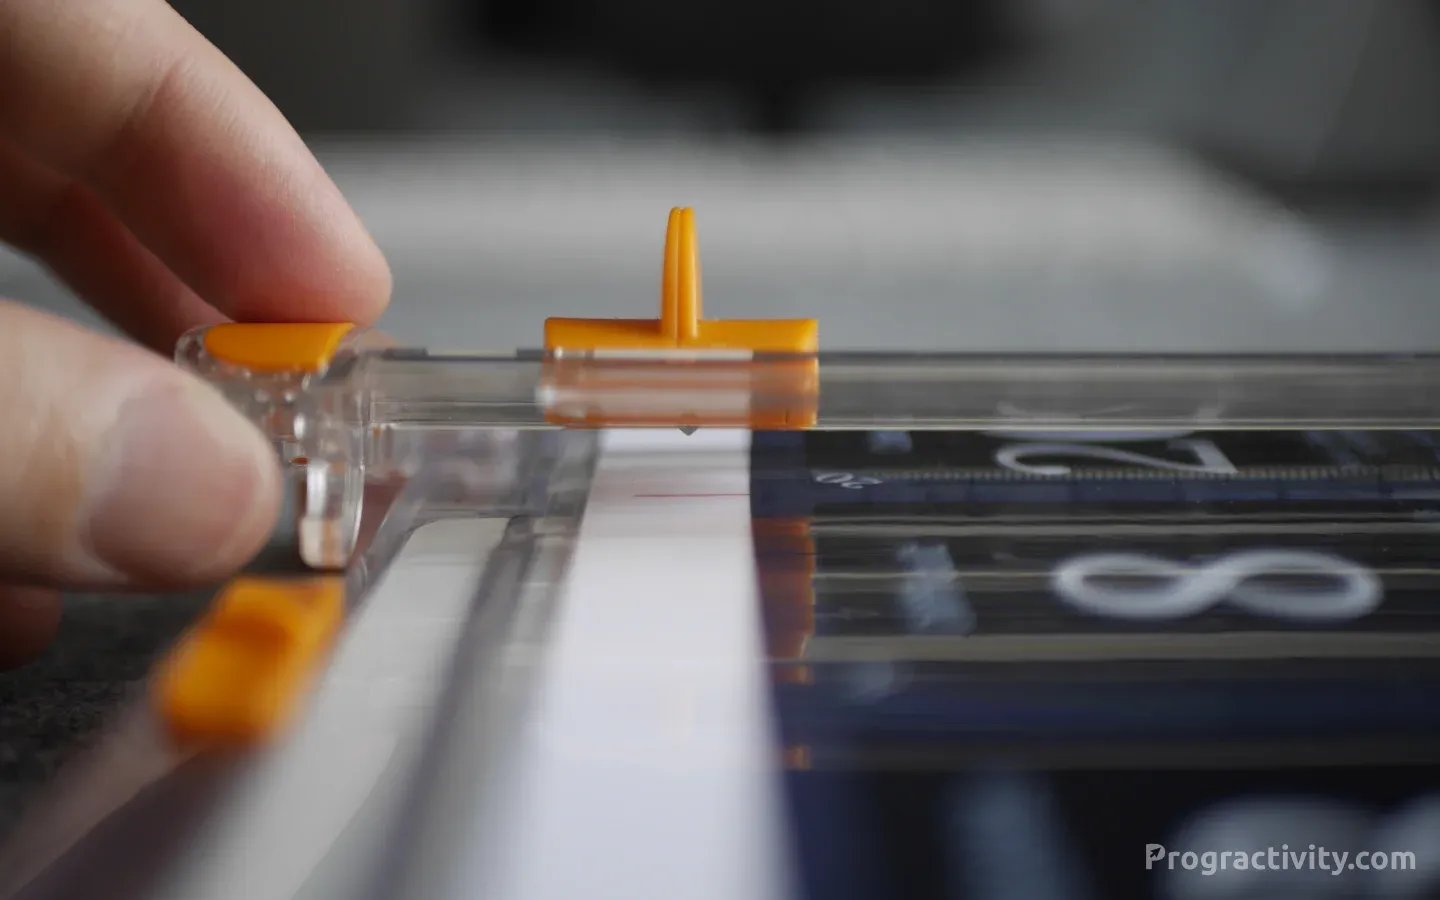
I’ve tried various methods, including scissors and different types of hand cutters, but the results weren’t always as clean as I’d like. I bought the Fiskars SureCut trimmer, it stands out for its ability to deliver precise cuts with ease thanks to the “Wire Cut Line” - a guide line. It is a metal string/line that shows you how the blade will move. The wire line is visible in the photo below:
Laminated sheets gives smoother cut. Depending of the sharpness of the blade and tool that you’re using, cutting bare paper can result in jagged edges that don’t look as polished.
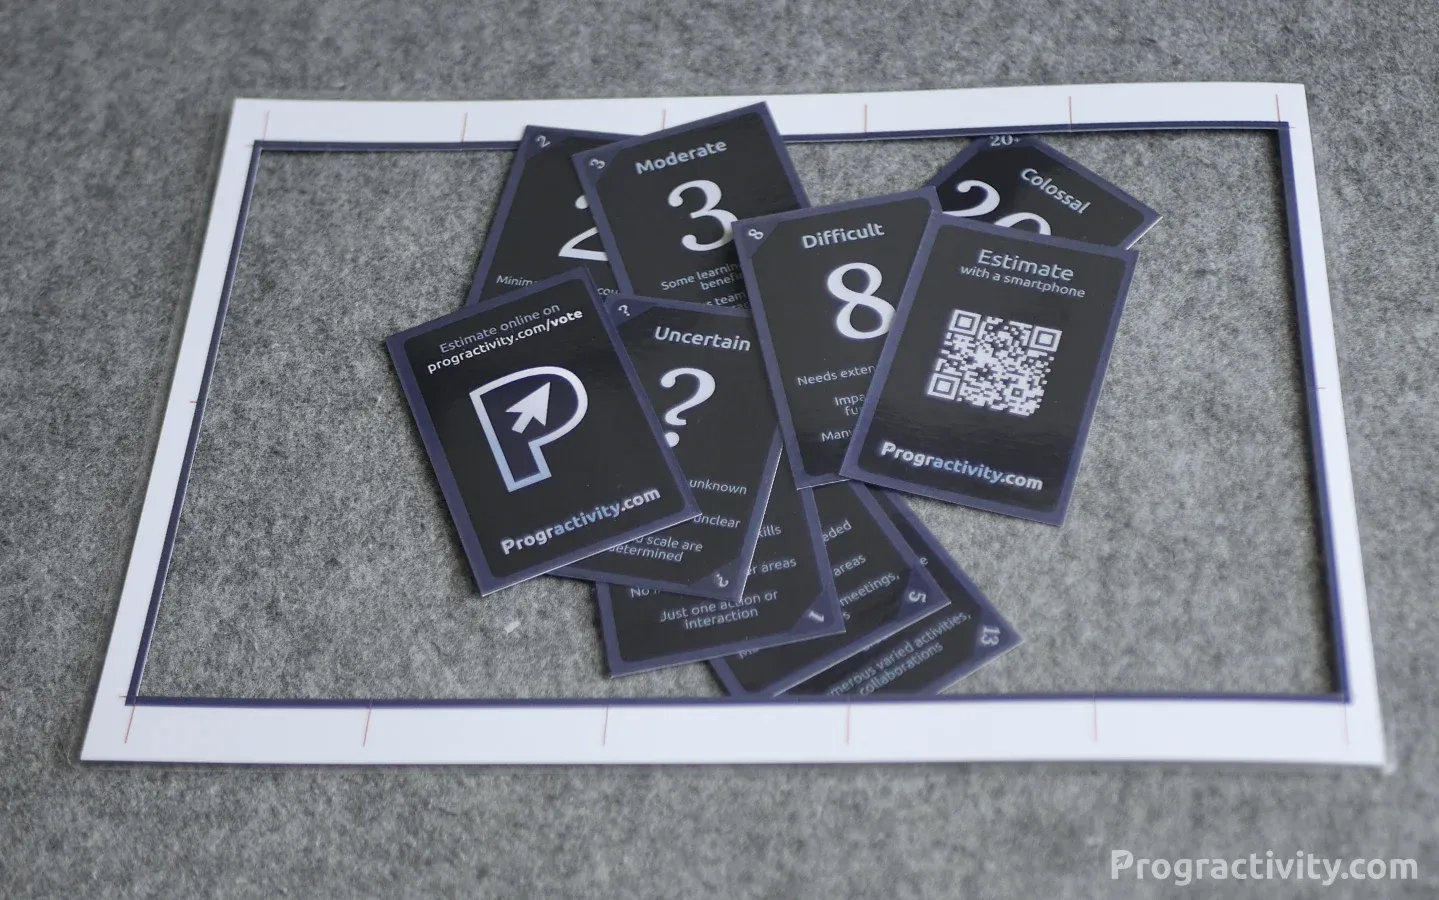
PRO TIP: I move the blade inside of the sheet and start cutting around 1cm inside. I also finish moving the blade, before I reach the edge of the sheet. I don’t cut all the way through the sheet. Thanks to that, I have a frame out of the laminated paper and the whole structure is stable.
Take your time cutting along the red lines; the more precise your cuts, the more polished your final product will be. It’s worth the effort to go slow and steady for the best results.
Rounding Card Corners
While optional, rounding the corners of your cards is a step I highly recommend. Not only does it give your cards a more finished look, but it also prevents the laminate from peeling over time, extending the life of your cards. Plus, rounded corners just feel better in hand!
A Corner Rounder Punch is a simple tool that can make this process easy. With a few snips, your cards will look like they came straight from a professional print shop.
This is quite time consuming as you have to cut each corner separately. Usually, I put 2 to 3 cards into the cutter at the same time to speed up.
Final Thoughts
Crafting your own Agile Poker Cards is a fun, hands-on way to bring a personal touch to your Agile planning sessions. When you’re done, I’d love to see your creations! Send me a picture or tag me on Twitter @Koprowski_it so I can see how they turned out.
If you’re in a planning session and not everyone has physical cards, no worries! My Agile Poker online tool is a perfect substitute and works great on a smartphone, ensuring everyone can participate.
Stay in the Flow – Explore More Stories
Follow this checklist to reduce doomscrolling and reclaim your time with effective digital detox strategies.
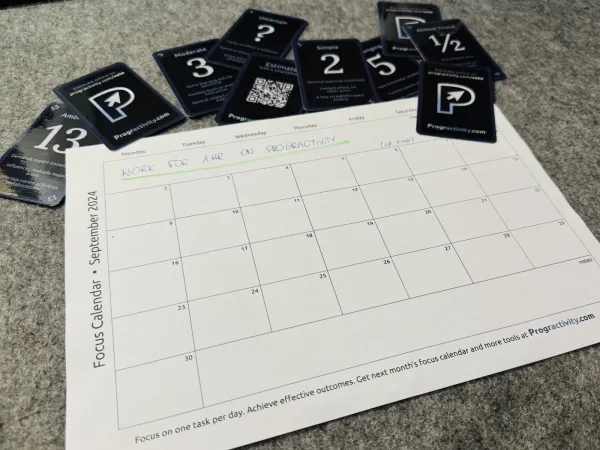
Boost productivity by focusing on one key task per day. Try the free Focus Calendar tool to plan your tasks and track progress. Simple, effective, printable.

Discover how I tackled Slack distractions to boost focus in coding. Tips and personal stories for developers seeking productivity in a busy digital world.